Showing posts with label coating. Show all posts

Wednesday, September 10, 2014

My first attempt at encasing an insect in epoxy

I have long wanted to cast a insect in epoxy. When I found a good cicada specimen recently, I thought I would give it a go. This entry is about the mistakes I made. Hopefully, after reading, when you try you will avoid the same mistakes.

I used EasyCast clear casting resin from here.It is low odor and easy to work with.
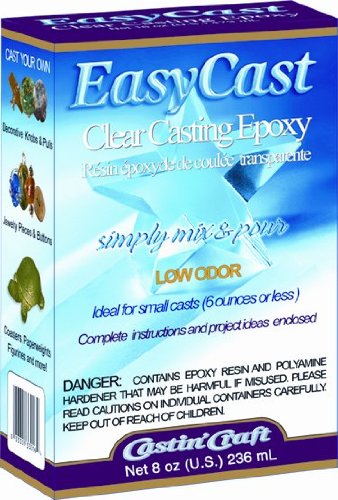


I read the instructions (yes, I did) but continued to ignore them. The result was less than spectacular, but a learning experience.

Here is a list of my mistakes in hope that you will do better.

1) Used wrong kind of mold - Polypropylene or polyethylene resin mold are required. I am sure I used poly something, but it was too stiff and the epoxy bonded with it extremely well. I had to cut the piece out of the mold. USE THE RIGHT LIND OF MOLD.

2) Use a mold release - I skipped this as well - Instructions suggest using Castin'Craft Mold Release/Conditioner. USE MOLD RELEASE.

3) Bubbles - I had major bubble on head of the cicada. I believe it is suggested to coat the insect prior to placing in the mold of resin. You can coat the insect with using a small brush. WATCH FOR BUBBLES. COAT THE OBJECT.

4) The legs of my cicada protruded out of the resin. The cicada was very close to the edges. I should have used a bigger mold. USE THE CORRECT SIZE MOLD.

I have learned quite a bit. When the opportunity arises, I will try again. Hopefully without the issues described above.

Saturday, August 20, 2011

Tempered Glass Surface for Alternative Photography

I have been looking for a piece of tempered glass to use as a flat surface when coating my papers with sensitizers. Today I found the perfect solution at a local shop. I picked up a tempered glass cutting board for about $10 at World Market. It is approximately 12"x16". It had a crinkly texture on top but was smooth as glass on the bottom. It is about 3/16" thick. It also has a nice print and plastic feet attached to the backside. Since I am going to use the smooth side, I had to remove the plastic feet and the glued on photo. I pried the feet off with a knife. I used a single edge razor in a holder to scrape off the glued on photo. Then I glued on the feet to the crinkly side. After it was washed up and dried I have a nice flat surface for using a coating rod to coat my papers.