Showing posts with label closeup. Show all posts
Showing posts with label closeup. Show all posts
Tuesday, September 24, 2013


Thursday, August 22, 2013
Nature Macro Shot Pet Peeve
I love all wonderful
nature macro shots on flickr, G+, 500px, and other sites. I just wish more
people would take the time to do some research and find out what it is they are
photographing and add this as a caption or comment. If you are really interested
in nature macro photography - surely the name of the species is important? You
can use bug and plant identification sights on the web or get some field
guides. I think the value of an image is lessened if the species name is not
listed, no matter the wow factor of the image itself. The worst offense is to
leave the image untitled. Really? You don't know what is generally? You can't
tell it is a butterfly, ant, or grasshopper. A general name is better than
nothing.
If you have tried to
identify and can't, say so. Ask for help. Give some details about the image -
where, how, when, what. Someone out there will know or have an idea about what
it is.
Take a chance on the
species name. If some one knows better and corrects you, Great! You learned
something.
Once again, in my
mind, the most spectacular image in the world is degraded if you don't know
what it is.
Tuesday, April 30, 2013
Review of Nanguang 5400K LED Video Light Lamp for Camera DV Camcorder Lighting
I purchased 2 Nanguang 5400K LED lights for use with my DSLR from Amazon here. I received them very quickly. They are $20 lights, so I didn't expect much. They lived up to expectation. They are very basic units that are not designed for durability. I had to disassemble one unit to replace the on/off dimmer knob which had come off. Fortunately the tiny screw used was still inside the unit. While I had the unit apart to replace the knob one of the wires broke so I had to resolder it. Crappy build.
Pros: Cheap, good light, accepts AA cells, hot shoe mount
Cons: Cheap build, very fragile - not professional quality at all.
I already had a Sima led light for my camera. The design and build on it were much better.
Ok for occasional use.
Pros: Cheap, good light, accepts AA cells, hot shoe mount
Cons: Cheap build, very fragile - not professional quality at all.
I already had a Sima led light for my camera. The design and build on it were much better.
Ok for occasional use.
Thursday, July 12, 2012
Lighting Setup For Tabletop Flowers
Here
is a setup that I used when photography some flowers. I wanted a white
background. The flash helps with that. I had to stop down to f8 to get a slow
enough shutter speed to fire the flash
properly. Anything above 1/250 sec would get the shutter in the way. I also
used this setup for the focus stacking experiment I blogged about earlier. It
worked well for that. The two 85W daylight fluorescent bulbs give good light. I
am happy with the results and will use this setup again.


Sunday, July 8, 2012
Velbon Super Mag Macro Tripod Slider and Focus Stacking
I have been wanting to do some focus stacking images for some time. Particularly for the flowers I like to photograph. I cannot get the whole flower (petals, stamen, and pistol) in focus with one shot. By using focus stacking you can create an image which will have the entire flower in focus. Find out more about focus stacking here and here. To make this process easier, I purchased the Velbon Macro Tripod slider like the one shown below:


I used a program called Combine ZP to align, scale, and stack the images. It is a free program that works remarkably well.
The Velbon unit worked well. I only wish that the X and Y movement knobs were on opposite sides. They can be made that way, and I will make the effort. More than once I had to start over because I moved the X position instead of the Y position. Here are my camera settings:
White Balance - Manual
Shutter Speed - Manual - 160
Aperture - Manual - 2.0
Mirror up delay - 5 secs
I started where the center (Highest point) of the flower was in focus and moved in in 17 increments. I mounted the slider on my ballhead.
This exercise was just that - an exercise to see how to do the setup and use the software. The Velbon slider is a vital part of the setup and it performed very well. I can also recommend the Combine ZP software.
Here is Velbon's description:
The Velbon Super Mag Macro Focusing Rail Slider, essential for
precision macro photography, is made of a lightweight,
corrosion-resistant magnesium alloy. Even with a steady hand, macro
photography can be tricky and temperamental. The fine tuning of the
Super Mag Slider helps you find the right depth of field to take precise
close-up photos.
The smooth action macro-rails consist of X and Y movable tables for precisely adjusting focus.
The X axis moves right and left, the Y axis moves towards and away from
the operator on threaded rods. By using the included allen wrench you
can separate the top and bottom tables for additional modification.
Underneath the top table (Y), there are both 1/4 and 3/8-inch threaded holes for mounting the top table to a tripod. The adjustment knobs are smooth and fluid, and have just the right amount of resistance.- 4-way adjustment - forward / backward / left / right
- Detachable lower base - changeable to 2-way slider
- Made from light weight & durable magnesium alloy
- Lateral adjustment rang: 1.2" (30 mm) / Fore/aft adjustment range: 2.4" (60 mm)
- Dimensions: 8.3 x 4.7 x 2.8 in. (210 x 120 x 70mm) / Weight: 1.04 lb. (470g)
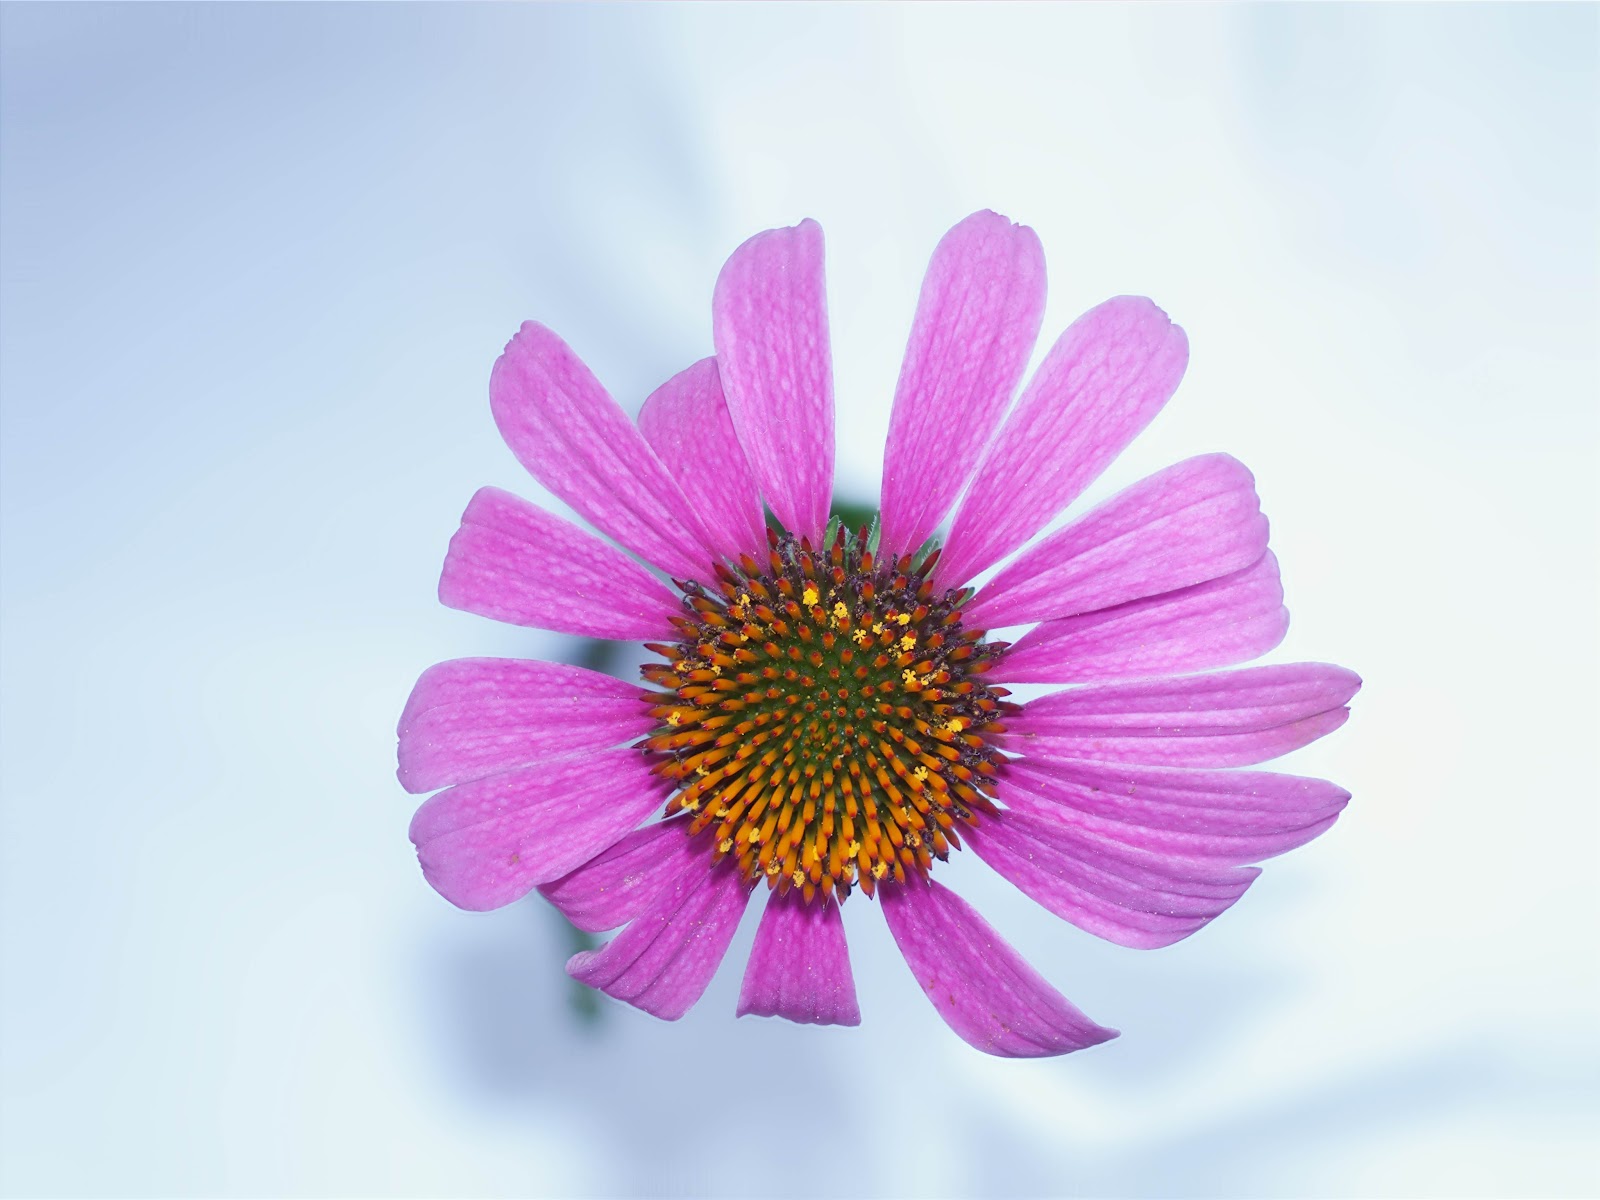
I completed my first attempt at focus stacking using a cone flower. I took 17 images turning the rail advance screw about 1 turn each time. Here are the 17 images and the result.

I used a program called Combine ZP to align, scale, and stack the images. It is a free program that works remarkably well.
The Velbon unit worked well. I only wish that the X and Y movement knobs were on opposite sides. They can be made that way, and I will make the effort. More than once I had to start over because I moved the X position instead of the Y position. Here are my camera settings:
White Balance - Manual
Shutter Speed - Manual - 160
Aperture - Manual - 2.0
Mirror up delay - 5 secs
I started where the center (Highest point) of the flower was in focus and moved in in 17 increments. I mounted the slider on my ballhead.
This exercise was just that - an exercise to see how to do the setup and use the software. The Velbon slider is a vital part of the setup and it performed very well. I can also recommend the Combine ZP software.
Thursday, June 14, 2012
Point and Shoot Photo Enhancement Using Photoshop CS6 Iris Blur
P&S cameras, with their small sensors, are great for getting closeup macro shots. However, even using the widest aperture, the background doesn't have the nice blur/bokeh you can achieve with some DSLR lens. Photoshop CS6 has a new blur filter called Iris Blur which allows you to blur the background while keeping the selected circular region in focus. This can be used to simulate a shallow DOF. The process is this: 1) Choose your focal point 2) Expand or contract the circle of focus 3) Adjust the blur strength, color, and lighting. It works pretty good. Below are some before and after pictures of a sensitive briar flower taken with a Fujifilm F505 in the macro mode.
 |
| After |
 |
| Before |
Tuesday, April 17, 2012
Sunday, April 15, 2012
Closeups with Glass Orb
There is a group on G+ that features images taken with a glass ball or orb. It's called #oculusimages. Most of the images are landscapes and they are pretty cool. Well, the orb can magnify as well. So I used it as a magnifying glass for photographing a snail shell. I really like the images. I love have the light diffracts and the blur. Kind of like a lensbaby, but more versatile. I made a little stand for my orb and put the shell underneath it. I lit the shell with a flashlight. I will definitely be playing with this again.


Wednesday, October 5, 2011

Sunday, May 9, 2010
Macro using Reverse Mount Lens Adapter
Last week I received a reverse lens mount adapter for my Zuiko 35mm f3.5 macro lens. I tried it right away. The way it works is this: You are able to thread the adapter to the outer filter threads of the macro lens. Then you flip the lens and attach the adapter to the lens mount on the camera. By reversing the lens, you get more magnification. Here's a sample photo of a small spider. I realized right away that a non-moving target is a must.

Also, a tripod will be necessary for the best shots. This spider was shot holding the camera by hand, and it was difficult to control. The DOF is very shallow. Also, it becomes more important to hold the camera lens parallel to the plane on subject that you want in focus. But, it shows a lot of promise. I will be able to get magnification that I was unable to get before. With patience and practice hopefully I will get some decent images. Here are some links at DPReview that deal with the subject. I'm looking forward to working with this setup to get some interesting macro shots.
Subscribe to:
Posts (Atom)