Showing posts with label Alternative Photography. Show all posts

Monday, August 21, 2017

More Distressed/Damage Zink Photos

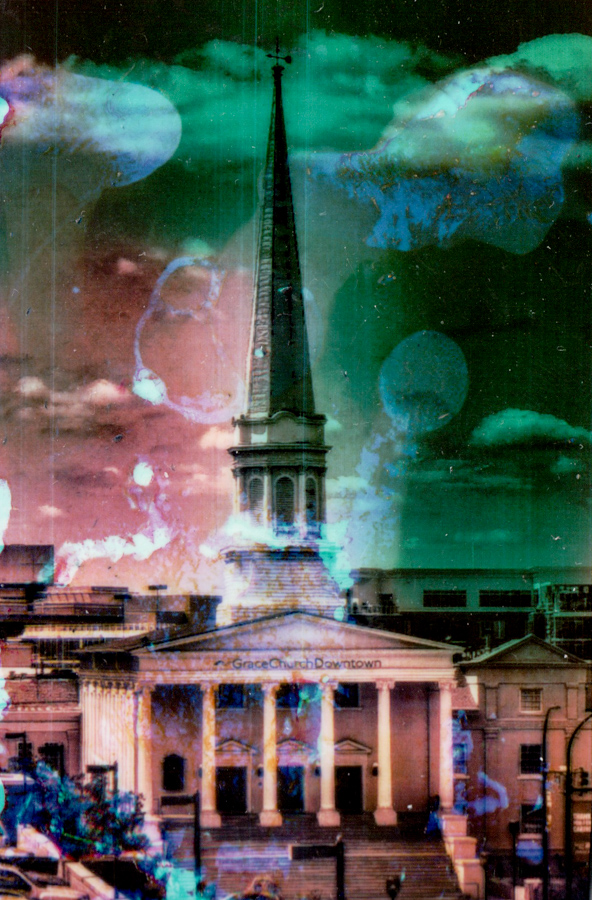
I generally like to spray a protective coating on my Zink photos. I have used clear acrylic and kamar varnish. Yesterday I decided to try lacquer.  I sprayed the lacquer on and wnt away. When I came back the coloring of the print had completely changed. From the brown that was printed to a nice blue. A pleasant surprise.


The top is the original coloring and the bottom is after spray lacquer was applied. Printed on Polaroid POGO. Interesting.

Wednesday, August 9, 2017

Distressed/Damaged Zink Photos

I have been printing a lot of images on 2x3 Zink paper recently. I remember from
years ago when the Polaroid POGO first came out there was a video about how to
distress/alter the Zink prints. I decided to give it a go. I used household ammonia.
I used an eyedropper to put a few drops on the paper then spread it around with my
finger. The ammonia begins to eat through the top layer. You can sort of control the
destruction by running water on the photo. Be careful - the force of the water could
wash off more than you meant. You can also just dab the photo with a paper towel to
mop off the extra ammonia. I let the photos dry over night and then spray with
acrylic spray. Sometimes I use kamar varnish spray which is a little more glossy.
Examples below.


Tuesday, September 29, 2015

Backlighting Existing Photo Prints

If you have a light table, you can use it to produce some interesting effects on existing printed images. The idea is to place your image on the table and photograph the image again - with the back light from the table. The photo print paper I use is thin enough to let some light through. I have used a texture print below the main print for a different look. Also, you can use multiple prints below the main print to block off a particular area on the main print for highlighting. You can come up with some interesting effects using this method.


Sunday, August 9, 2015

Image Transfers on Metallic Poster Board

I was looking for something new to do with image transfers. I wanted something to give them a little kick. I think mounting them on metallic poster board did just that. Kicked them up a notch. BAM!

I make my transfers from color laser prints and Mod Podge. 4 or 5 coats.

I also used Mod Podge to attach them to the poster board and also added another coat.

Here are the results.


Monday, June 29, 2015

Image Transfer/Lift Look with Grafix Rub-onZ


I purchased 4 sheets of Grafix Rub-onZ with the intention of transferring a cone flower image to a piece of wood. I followed the directions but was surprised to find that when I put the film on the board and rubbed - nothing happened. I was trying to attached the non-sticky side to the wood. At this point, I gave up with the idea of using wood and wondered how I could make this work for paper. I coated a 5x7 matte card with Jade PVA glue and placed the film down on the paper. I rubbed with a bone folder to get as many of the air bubbles out as possible. I let it sit for a while. Then I peeled off the outer film exposing the sticky side. At this point, I thought I realized what I had done wrong. As I was peeling off the film, there were some tears and scratches - I liked the way it looked. The question was how to counter the sticky side up? I decided to try coating it with Jade PVA. This worked perfectly. The resulting image looks a lot like some of my emulsion lifts and I am happy with the results. I have repeated this process three times now. Actually, I have yet to use the Grafix Rub-onZ correctly.

Links:

Monday, April 8, 2013

Using Ink Jet Fabric Transfer on Paper

I have always wanted to try Inkjet Fabric Transfers on paper. I used Avery 3275 transfers and transfered onto a watercolor paper. The paper was Canson Montval Aquarelle.

I followed the directions for fabric using a hot iron and lots of pressure. The image I printed was a B&W image taken with a pinhole camera.

I like the results. The paper texture shows through the image and the image has thickness and depth. It also darkened some. I like the effect and will try again with a color image.

Sunday, February 24, 2013

My first 4x5 ortho film developed!

It's not much to look at. It's messy, blurred, and underexposed (I tweaked the image below). But it is the first film developed by me. Sure, there are probly kids in kindergarden who can do better but you've got to start somewhere. Taken inside, f5.6, exposure for 2min 30secs. Developed in Dektol.


Film was from UltrafineOnline.com.

Saturday, February 16, 2013

Using Caffenol as Paper Developer

I have been doing some darkroom printing with Ultrafine VC ELITE Glossy Variable Contrast RC Paper. I have printed from film negatives, inkjet negatives, laserjet negatives and paper negatives. I typically develop with Dektol, but was interested in trying Caffenol. I like the coffee stain look on the prints and I don't have to worry about disposing of the developer. And it's relatively cheap. Last night I made a couple of prints from a paper negative printed on laser printer. I developed in the following solution:

8 oz water
2 tsp washing soda (Arm and Hammer)
4 tsp instant coffee

I exposed for approximately 1 sec. I was amazed how quickly they appeared in the developer, less than 1 min. I washed under water for about a minute then dipped the paper in fixer for 2-3 minutes.

I like the look of the results and must do more. 


Caffenol Developed Print from Inkjet Negative - Prometheus Moth

Friday, February 15, 2013

Review of Ultrafine VC ELITE Glossy Variable Contrast RC Paper

I have recently created a darkroom in our laundry room for the purpose of making prints and possibly developing B&W film. The first photo paper I bought was Ultrafine VC ELITE Glossy Variable Contrast RC Paper from UltrafineOnline.com.

I purchase 8x10 sheets. I have developed images from film negatives, inkjet and laser negatives, and paper negatives. 

Pro:

1) Smooth surface - feels good to touch
2) Inexpensive
3) Dries quickly, takes squeegee well
4) Works well with Dektol and Caffenol developers
5) Thin enough to be used as paper negative
6) Robust

I don't have any cons - but keep in mind I am just beginning to learn how to print images. However - I love this paper.
 

Wednesday, February 13, 2013

Using Harman Direct Positive Paper - Trials and Tribulations

Harman (Ilford) makes a Direct Positive Paper (DPP) which can be used in place of film in a pinhole or medium format camera. It can also be exposed with an enlarger. Photograms are possible as well.I began my experiment by purchasing some 4x5 sheets fro my BandJ Orbit camera.I loaded the paper in a film-holder. I'm happy to say it fits the film-holder just fine. I loaded the paper in a darkroom with a red safety light.

I proceeded to take some shots outside in partly cloudy conditions. At f22 I used shutter speeds of 1 to 5 minutes. Why the long shutter speeds? Because somewhere and somehow I had confused myself into thinking they were required.

I developed the paper in Dektol paper developer and a fixer. On one or two of the images I could see a faint outline of trees. I had over exposed them all.

So, it's again a time for reflection and hoping I get it right next time.


Sunday, February 3, 2013

Source for Inkjet Image Transfer Paper

I have used wax paper, acetate, and other materials for inkjet image transfer. I found a new source from US ArtQuest products simply called "studio paper". You can find it here. It works wonderfully, is cheap and reusable. Just wash off the remaining ink with a damp cloth. It is also available at McClains Printmaking Supplies.

Saturday, January 26, 2013

More on Wax Paper Inkjet Transfers

Perhaps we should call this type of image transfers "repulsion image transfers". The way it works is that the surface you print on repels the ink (it doesn't get absorbed into the structure of the material). Wax paper is on of many materials you can use for this purpose. What I like about wax paper is that some of the pigment is absorbed in the paper as you use it over and over. So you begin to build a background texture. Of course, if you don't want this you can create new wax paper blanks. If you want the entire image to transfer much like it was printed then use clear plastic "sheet protectors". I place a couple of sheets of paper in the sheet protector to give it some stiffness. What's neat about the plastic sheet protector is that in areas of the image that have lots of black - the ink will pool up and make some interesting effects. These are the two things I have tried so far. I suppose a regular transparency might work ( not one made for inkjet). Just remember you want to print using "inkjet paper" setting. You will get much more ink on the "photo" setting. Here's an image transferred using a sheet protector.

Tuesday, January 8, 2013

Brownish Staining on Cyanotypes

I have been making a few cyanotypes recently. I have successfully made cyanotypes before. But now, I seem to be consistently getting brown staining for some reason. The staining is on the entire image - light and dark areas inclusive. I am using paper negatives whereas I was using film negatives before. Some of the paper negatives have been oiled. My setup is as follows: I have a glass base. I lay the sensitized paper on top of the glass. I lay my negative on top of the sensitized sheet. Finally I cover with another piece of glass and develop in my UV exposure unit. I have tried different papers with similar results. The interesting thing is that where the paper negative has not covered the sensitized paper, the paper develops into the rich Prussian blue I would expect for the entire image. Does this process not like my paper negatives? I will try a film negative and report the results. Has anyone had similar results?

Sunday, March 25, 2012

Cyanotype from new UV Source

This weekend I finally made some cyanotypes from my new UV source talked about here. It works great. Here's a sample.


Sunday, February 26, 2012

New, bigger and better UV Light Source for Cyanotypes and such

I had a UV source light source made from 2 UV bulbs and 6 inch reflectors. It worked ok but was cumbersome and not easily stored. I decided to make a larger unit, with four 14" tubes, and a timer. Here's a parts list of the electrical items:

From Bulbtronics:


 The first item are the T8 sockets, the second item is the T8 UV tubes, and the last item is a 4 Tube starter/ballast.

From Lowes I purchased a 120VAC 60 minute timer, and a metal box to put it in. I had an AC cord with 3 prong plug. The wood, glue, nails, and screws are also needed.

I began by building the box. Here's some images of the progress.


You can see I even covered the top with some decorative paper.  Also, note that I lined the area beneath the tubes with white poster board to reflect more of the light down.

The unit could be used as is, by propping it on books or whatever, so you could slide a negative and sensitized paper underneath. However, I think I will build a stand for it later.

Sunday, September 11, 2011

Papers for Cyanotypes

I have used the following papers with success for cyanotypes using the old and new processes. They are listed in my order of preference.

1) The Langton Prestige - Daler Rowney - Hot Press, 140lb, 300 gsm - very smooth finish. Able to maintain details.

2) XL Series - Canson - Cold Press, 140lb, 300 gsm - very smooth, more sensitive to exposure than #1

3) Montval - Canson - Cold Press, 140lb, 300 gsm

4) 300 Series - Strathmore  - Cold Press, 140lb, 300 gsm - rougher surface, not capable of as much detail

5) Watercolor Cards - Strathmore - - Cold Press, 140lb, 300 gsm - make nice cyanotype cards

Here are the links for Canson, Daler Rowney, and Strathmore.

The papers are available from AC Moore, Hobby Lobby, Michaels, Dick Blick, Daniel Smith and other stores.

Monday, September 5, 2011